Installing the Wolfram Language Plugin
The Wolfram Language Plugin works with a wide range of JetBrains products like, e.g., IDEA, CLion, PyCharm,
RubyMin, Android Studio, WebStorm and many more.
This gives you the opportunity to develop your Wolfram Language code in the IDE that you like the most.
More importantly, however, it allows for the development of packages that use other technologies like JLink or
LibraryLink inside an IDE which is most appropriate for Java (IDEA) or C/C++ (CLion).
Install a JetBrains IDE
If you start from scratch, download IntelliJ IDEA here. If you don’t have a license for the Ultimate Edition, the free Community Edition is perfectly fine. All JetBrains IDEs are available for Windows, macOS, and Linux. The Wolfram Language Plugin will work with IDE versions 2018.3 or newer.
The latest version of the Wolfram Language plugin requires an up-to-date version of your IDE. You can find all version and compatibility information for the Wolfram Language plugin on Jetbrains’ website.
Install the Wolfram Language Plugin
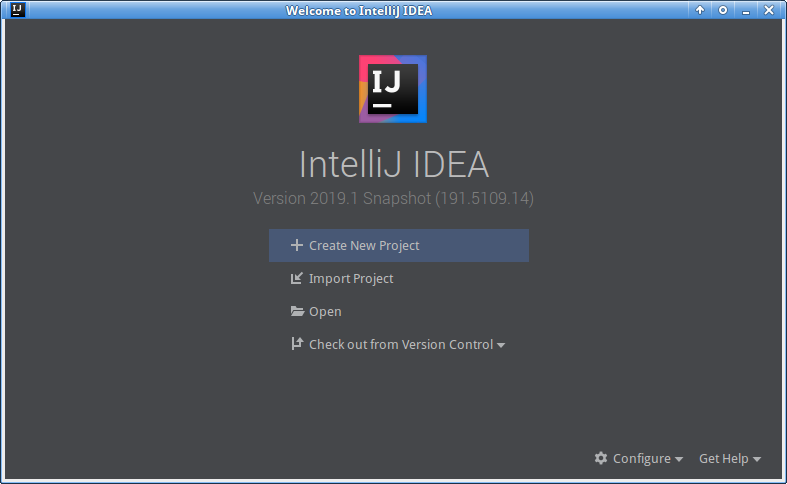
Once you started the IDE, you will see the initial Welcome screen.
Click on Configure | Plugins, search for “Wolfram Language” in the Marketplace tab (version 2019 or later) or use Browse repositories (version 2018). If you haven’t used IntelliJ IDEA previously, then open File | Settings | Plugins.
Install the Wolfram Language Plugin and restart IntelliJ IDEA to finish the installation.
The Wolfram Language Plugin updates automatically to the latest version once it is available on the Jetbrains Plugin Repository. Newer version of the plugin might require an up-to-date IDE and, therefore, it is advised to use the latest version of IntelliJ IDEA. Once a new version of the plugin is available, the IDE shows a notification.
Upgrading from version 2.4.4 or earlier
Between version 2.4.4 and version 2019 of the Wolfram Language Plugin many of the core algorithms and data-structures were rewritten. As a consequence, the internal representation of caches and indexes have changed, and you might experience odd behavior. Please clear and rebuild the caches by clicking File | Invalidate Caches/Restart which will restart IDEA and rebuild all structures.
Using EAP (beta) releases
Testing new features or working on larger changes requires testing-phase to ensure the plugin works correctly and there are no regressions. To install beta-releases, you need to add the beta repository to your IntelliJ IDEA settings. After that, you will get update-notifications each time a new beta version is available which is far more frequently than updates for stable versions.
To add the beta channel in IDEA 2018.3 or later, go to File | Settings | Plugins. In this setting page, click on the ⚙ icon in the upper right corner:
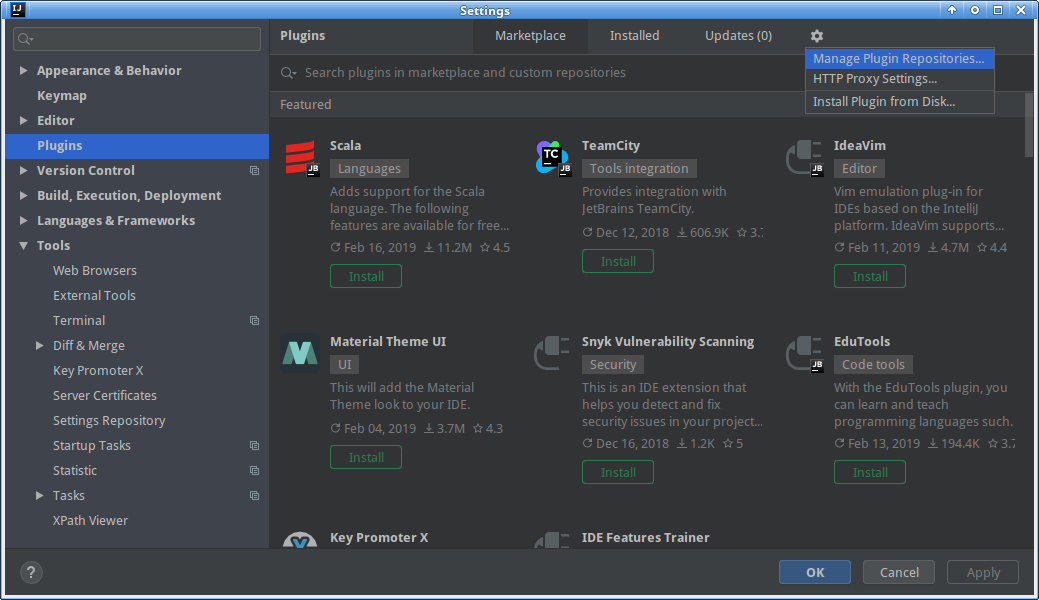
Choose Manage Plugin Repository… from the popup and in the appearing dialog, add the URL
https://plugins.jetbrains.com/plugins/beta/list
as shown here:

After closing this window, you can install the beta-version for “Wolfram Language” in the Marketplace tab, and you will find that the beta version is displayed and ready for install.
Downgrading
Especially in beta releases, you might experience bugs which affect your work.
However, you can always downgrade to a previous version that worked for you.
Go to the Wolfram Language Plugin
repository page, and there you can download previous versions.
Make sure you download the plugin version which is compatible with the IDE version you’re using.
If you’d like to downgrade to a previous beta version you’ll need to click the beta button in the Versions tab.
Once you’ve downloaded the version you want, install it using Settings | Plugins | ⚙ | Install from disk…